
AI Writing Assistant: How It Works and When to Use It
June 25, 2026
Learn how AI writing assistants work, what they can and can't do, and how students and professionals use them to write faster and think clearer.

May 11, 2026
The outline note-taking method organizes information into a hierarchy of main topics, subtopics, and supporting details using indentation. It's one of the most widely taught systems in schools and workplaces because your notes mirror the logical structure of the content itself, making review faster than scanning dense, unstructured pages.
Whether you're sitting through a lecture, reading a textbook chapter, or taking notes in a meeting with a set agenda, the outline method gives your notes a shape you can navigate quickly later. This guide covers exactly how the system works, how to apply it step by step, what good outline notes look like across different subjects, and when a different approach serves you better.
The outline method structures your notes like a table of contents. Main ideas sit at the left margin. Subtopics indent one level in. Supporting details indent further. Each layer shows how information relates to the layer above it, which is what makes outline notes faster to review than pages of unstructured prose.
The traditional system uses Roman numerals (I, II, III) for main topics, capital letters (A, B, C) for subtopics, Arabic numbers (1, 2, 3) for supporting details, and lowercase letters (a, b, c) for the finest level of specificity. Many students drop the labels entirely and rely on consistent indentation alone. Both approaches work: the visual hierarchy is what matters.
The method's core strength is revealing relationships. Instead of recording isolated facts, you're building a map that shows which details support which ideas. When it's time to study, your eye can travel from the broad concept to the specific evidence in seconds rather than hunting through a wall of text.
The outline method draws from the same logic used in academic writing and structured presentations. If a professor or speaker follows a clear progression, your outline notes will closely track their intended flow.
A standard outline uses four levels of detail. The first level holds the main topic: a broad category, theme, or argument. The second level holds subtopics, meaning the specific points, arguments, or sections under the main idea. The third level records supporting details: facts, statistics, examples, or evidence that develop a subtopic. A fourth level is available for sub-points, though most notes don't need it.
On paper, consistent indentation of about half an inch per level works well. In digital apps, use tab indentation or nested lists. The key is that each level has a distinct visual position so you can identify it instantly without reading the full line.
Keep main topic headings short: a phrase, not a sentence. Subtopics and details can be fragments or full sentences depending on the density of the content. The goal is capturing the idea efficiently, not transcribing every word.
The outline method rewards preparation. Before a lecture or meeting starts, review any available materials: a syllabus, agenda, or chapter headings. Write your expected main topic headings at the left margin with space under each. You're creating a skeleton before the content fills it in, which keeps you from scrambling to organize information while someone is speaking.
As the session begins, listen for transition signals. Lecturers and textbooks announce topic shifts explicitly: "We're going to cover three factors here" or "The second mechanism involves..." When you hear a new main topic, start the next Roman numeral. When the speaker adds a subtopic under it, indent in. When they add evidence or an example, indent further.
Resist the urge to indent every sentence. Capture the structure, not the transcript. If a point seems to belong under the current subtopic but might deserve its own heading, make a quick judgment and keep moving. You can refine the hierarchy during your review.
Leave one to two blank lines after each main section. This space makes the notes visually scannable and gives you room to add detail during review when you compare notes or re-listen to a recording.
After the session, spend five focused minutes reviewing and filling any gaps while the content is still fresh. This step is often skipped, but it's what transforms a rough draft outline into a reliable study resource.
A few practices consistently improve outline quality:
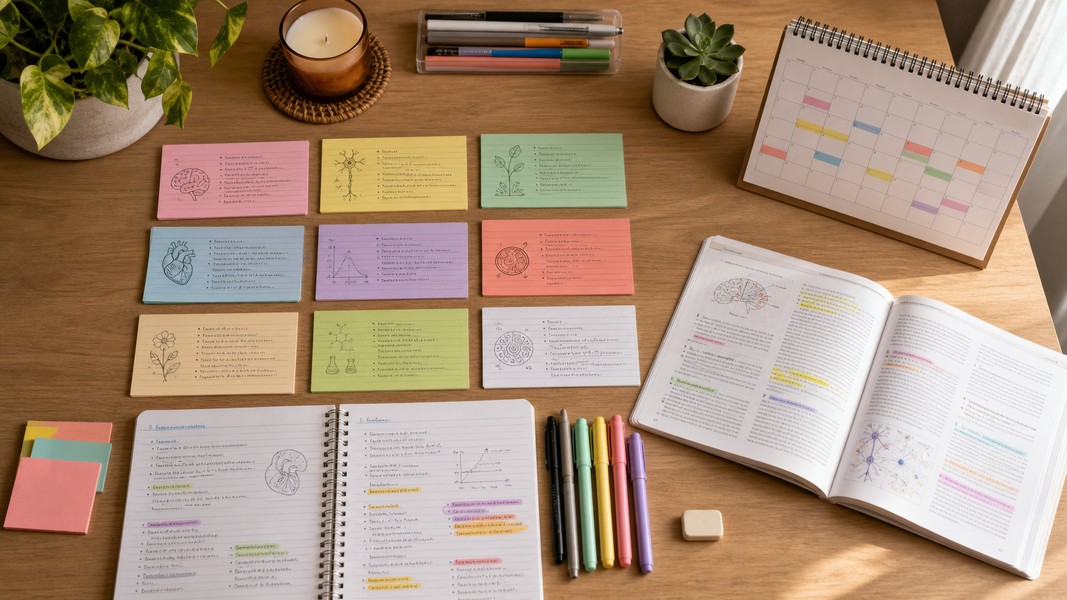
Seeing the format applied to real content is the fastest way to understand how it works.
In a history lecture on the causes of World War I, the outline might open with "I. Long-term Causes" as the first main topic. Under that, "A. Nationalism" and "B. Imperial Rivalries" sit as Level 2 subtopics. Under Nationalism, "1. Ethnic tensions in Austria-Hungary" appears at Level 3. Under Imperial Rivalries, "1. Competition over African colonies" sits at the same level. The second main section, "II. Immediate Trigger," holds "A. Assassination of Archduke Franz Ferdinand" at Level 2, with "1. Sarajevo, June 28, 1914" as a Level 3 supporting detail.
For a biology class on the respiratory system, "I. Upper Respiratory Tract" and "II. Lower Respiratory Tract" anchor the outline. Under Upper, the nasal cavity, pharynx, and larynx appear as Level 2 entries with their functions as Level 3 details: "1. Filters, warms, and humidifies incoming air" under the nasal cavity entry. Under Lower, the bronchi, bronchioles, and alveoli follow the same pattern, with gas exchange noted as a detail under alveoli.
In a project kickoff meeting, "I. Objectives" captures the top-level goal. "II. Timeline" breaks into weekly milestones at Level 2, with specific deliverables at Level 3. "III. Risks" lists each concern at Level 2 with mitigation steps below. The same hierarchy that works for academic content applies equally well to professional settings: anywhere content has a logical structure, the outline method captures it cleanly.
The outline method works best when the content is structured. Lectures that follow a clear progression, such as history, law, literature, or business administration, give you natural main topics to anchor your hierarchy. Textbook chapters are an ideal fit because the chapter headings often map directly onto a Level 1 outline. Meetings with a set agenda translate naturally, too: the agenda items become your main topics.
The method struggles with fast-paced, loosely structured delivery. If a speaker jumps between ideas without clear transitions, you can end up with an outline that doesn't reflect the actual logic of the content. In those cases, a sentence method or flow notes approach captures information without the structure penalty.
Math and science courses with heavily formula-based content are another poor fit. The outline method captures verbal reasoning better than equations and diagrams. For visual or relationship-heavy topics, mind maps often reveal connections more naturally than a vertical hierarchy.
For lectures that move too quickly for structured real-time outlining, recording the session and outlining afterward removes the time pressure. With Voice Memos, you can record directly on your phone and use AI to generate an organized transcript that you then structure into an outline at your own pace, a practical workaround when the lecture speed makes live outlining impractical.
The outline method and the Cornell method are the two most commonly taught structured note-taking systems. They're often confused because Cornell notes frequently incorporate outline formatting in the main notes column.
The structural difference is the layout. Outline notes use the full page with a hierarchy of indentation. Cornell notes divide the page into a narrow cue column on the left, a larger notes section on the right, and a summary box at the bottom. The notes section in Cornell often uses outline formatting internally, but the cue column and summary box are what define the system.
The functional difference is the built-in review process. The outline method is primarily a capture system: your notes come out organized and are easier to review than unstructured prose, but the system itself doesn't prompt you to test your knowledge. Cornell notes build a retrieval layer into the format. After each session, you write questions or key terms in the cue column, then cover the notes and test yourself. The summary box at the bottom forces you to synthesize the full page in your own words.
Choose the outline method when you need to capture information quickly and review it for structure and relationships. Choose Cornell when your goal is active recall and retention over time, especially for content-heavy subjects where you'll need to retrieve specific facts under pressure.
For a broader look at how these and other systems compare, the overview of note-taking methods covers seven approaches with guidance on when each works best.
For lectures or meetings where building a structured outline in real time is difficult, AI tools can automate the initial capture. These tools record the audio and process the transcript to produce hierarchically organized notes, which you then review and refine.
Voice Memos records lectures, meetings, or voice memos on your phone and uses AI to detect the main topics and key details in the transcription. The app organizes the output into a structured format that aligns with outline logic: broad topics at the top level, specifics nested below. For students juggling fast-paced lectures or professionals moving between back-to-back calls, this removes the bottleneck of real-time structuring.
The AI-generated notes work best as a starting point rather than a finished product. After each session, review the output against the content, confirm that the hierarchy reflects the actual logic of what was covered, and fill in any context that was implied by tone or delivery. This hybrid workflow of automated capture and human review gives you the speed of transcription with the comprehension benefits of active engagement.
Voice Memos also supports PDF upload and camera scanning, so if you already have handwritten or printed notes that follow an outline structure, you can import them and process them through the same AI pipeline alongside your recordings.
The outline note-taking method works because it turns raw information into a logical structure you can actually use. Main topics at the left margin, subtopics indented in, supporting details nested further: the hierarchy shows at a glance which details matter and how they connect.
Use it for structured lectures, textbook chapters, and agenda-driven meetings. When content is unstructured, heavily visual, or math-based, other methods fit better. And if the pace makes real-time outlining impractical, AI capture tools can handle the initial structuring so you can focus on understanding the content.
The outline method is one of the simplest systems to start with: a sheet of paper, consistent indentation, and the habit of listening for structure before you start writing.
Discover more insights and tips to enhance your productivity
Learn how AI writing assistants work, what they can and can't do, and how students and professionals use them to write faster and think clearer.
Learn 7 proven memorization techniques used by students and experts. Science-backed strategies to remember more and study more efficiently.
The best AI transcription software in 2026, tested and ranked. Compare accuracy, features, and use cases for professionals, researchers, and teams.