Granola AI Review: Features, Pricing, and Verdict
June 19, 2026
A detailed Granola AI review covering features, pricing tiers, strengths, and limitations. Find out who it is actually built for and when to look elsewhere.

May 5, 2026
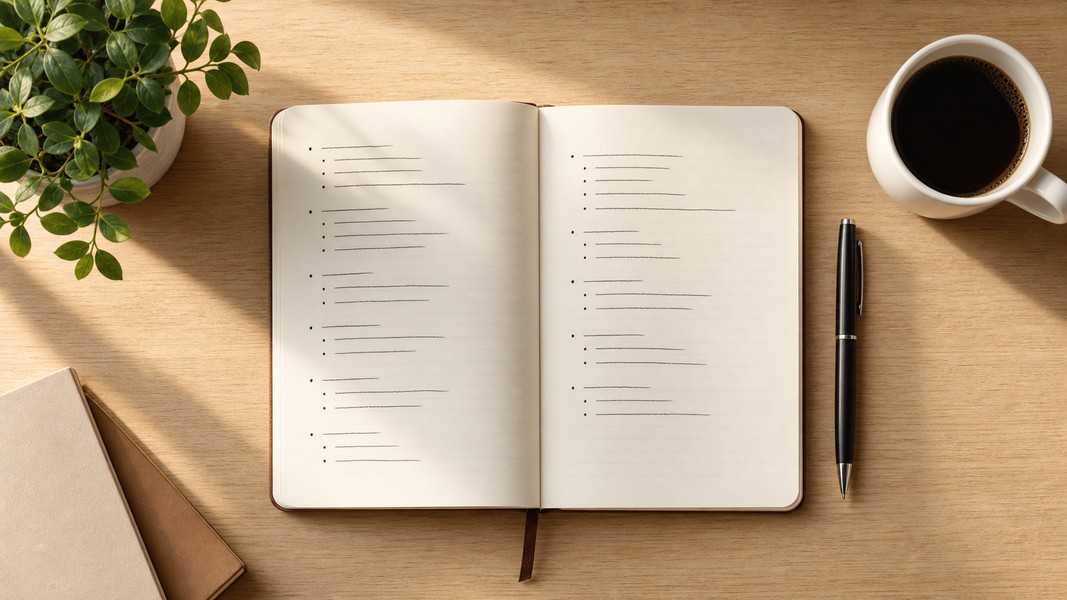
A Cornell notes template divides a single page into three zones: a narrow cue column on the left (about 2.5 inches wide), a wider notes column on the right (about 6 inches wide), and a summary section at the bottom (about 2 inches tall). These proportions are specific by design. The narrow left column forces you to write short, precise prompts rather than full sentences, which is exactly what active recall requires.
Whether you type notes in Google Docs, write in Word, print a PDF, or work on an iPad, the format only pays off when the template fits how you actually work in class. This guide covers setup instructions for each format, variations for different subjects, and how to use your template so the review cycle actually sticks.
The system comes from Walter Pauk, a Cornell University reading and study skills professor who developed it in the 1950s. Cornell University still teaches it today as a foundation of effective studying.
The standard template layout uses these proportions:
During class or while reading, you write only in the notes column. You fill in the cue column afterward, once the session is over. The cues are questions, keywords, or short prompts that represent the main ideas from each section of notes. When you review, you cover the notes column and try to recall the answers from the cues alone.
This two-phase approach is what separates Cornell notes from regular outlines. The cue column is a self-test mechanism, not a second copy of the notes. Writing it well means processing the material twice: once when you take the notes, and again when you figure out what the essential questions are.
You can read more about the underlying method in our Cornell Notes complete guide.
Google Docs is a strong choice for Cornell notes when you can type comfortably during class and want your notes automatically backed up and accessible from any device. The key is setting up the three-zone layout correctly so it holds across multiple pages without breaking.
The most reliable approach is a two-column table for the cue and notes sections, with a separate single-column table below for the summary.
Open a new Google Doc and set the margins to 0.75 inches on all sides through File > Page Setup. Insert a table with one row and two columns (Insert > Table). Right-click the left column, open Table Properties, and set the column width to 2.5 inches. The right column fills the rest of the page automatically. Below the main table, insert a second table with one row and one column for the summary section.
Add a simple header row above both tables for your date, course, and topic. When you start a new page of notes, duplicate both tables rather than extending existing rows. This keeps each page independent, which makes it much easier to review individual sessions.
One useful practice: enable Google Docs comments for cross-references. If a concept in one lecture connects to earlier material, add a comment with the date of the related session. It is faster than searching through pages of text when you are reviewing before an exam.
Save the file as your template via File > Make a Copy, rename it "Cornell Notes Template," and keep it in a Drive folder you return to at the start of each new class.
Microsoft Word gives you more formatting control, which matters when your notes include equations, numbered steps, or structured outlines that can break down in simpler editors.
The setup process mirrors Google Docs. Open a blank document and set margins to 0.75 inches under Layout > Margins > Custom Margins. Insert a table with two columns and one row (Insert > Table). Right-click to open Table Properties and use the Column tab to set the left column to 2.5 inches. In the Row tab, set the minimum row height to 0.3 inches so the table expands as you type without breaking the layout.
Add a one-column table below for the summary section. Then go to File > Save As and choose "Word Template" (.dotx) as the file type. Opening a .dotx file creates a new blank copy each time, so your master template never gets filled with actual notes.
For subjects heavy in formulas or diagrams, adjust the proportions: set the left cue column to 1.5 inches and the notes column to 6 inches. You will write shorter cue prompts, but the extra space makes sketching diagrams or working through equations much easier.
If you have access to Microsoft 365 through your school, save the template to OneDrive. That way the same template is available on every device without having to transfer files.
A printable template works well when you write faster by hand, when your subject requires sketching, or when you prefer keeping digital distractions off the desk during class. The fixed layout also removes any temptation to format or reorganize notes during the lecture, which keeps attention on the content.
When evaluating a printable Cornell notes template, look for:
Print 30-50 copies at once and keep them in a binder organized by course. Using a consistent paper template means every class has the same review structure, which makes flipping through sessions at exam time much faster. WikiHow includes a printable version you can use as a starting point.
For iPad or tablet users, apps like Goodnotes and Notability include built-in Cornell paper templates with pressure-sensitive stylus support. These combine the handwriting benefit of print with the searchability and cloud backup of digital tools.
The standard layout adapts to most subjects with minor adjustments.
Mathematics and science: Widen the notes column to 6 inches to fit equations and step-by-step problem solutions. Use the cue column for formula names and variable definitions rather than full questions. The summary section works well for listing which problem types appear on upcoming exams, which turns it into a checklist during final review.
History and essay-heavy subjects: Keep the standard proportions. Write dates, key figures, and thesis prompts in the cue column. Use the summary section for a 2-3 sentence synthesis written as if it were an essay topic sentence. This doubles as exam prep because the same summary sentences often transfer directly into essay outlines.
Reading-based classes: Use the cue column for chapter references and page numbers rather than general questions. In the notes column, record the main argument of each section and two or three supporting points. This approach mirrors the structured note-taking techniques used in analytical reading and makes it easy to trace arguments back to the source when writing papers.
Language learning: Use the cue column for vocabulary terms and grammar rules, with example sentences and context in the notes column. The summary section captures the patterns you noticed across the lesson, which helps connect new material to what you already know.
A Cornell template only pays off if you use the cue column as a testing tool rather than a second set of notes. The review process matters as much as the template itself.
Fill in the cue column the same day as the lecture, while the material is still accessible from memory. Write questions, keywords, or short prompts rather than full sentences. When you sit down to review, cover the notes column entirely and read through your cues. Try to recall what each cue represents before uncovering the answer. The act of trying to retrieve the information is what builds long-term memory, not rereading.
Review your cues again three to five days after the lecture. A third pass in the week before an exam rounds out the cycle. This spacing pattern aligns with how memory consolidates over time. Each retrieval attempt strengthens the connection, so the initial effort you put into writing good cues pays forward with every review.
The summary section anchors each page. Writing a 4-6 line synthesis at the bottom requires compressing an entire page of notes into your own words. Students who write summaries consistently find that reviewing them before exams feels much faster than rereading full notes, because the summary already contains the synthesis work.
Building a Cornell template by hand is effective, but it assumes you can keep up with the lecture in real time and fill in the cue column while the session is still fresh. Many students find one or both of those steps difficult.
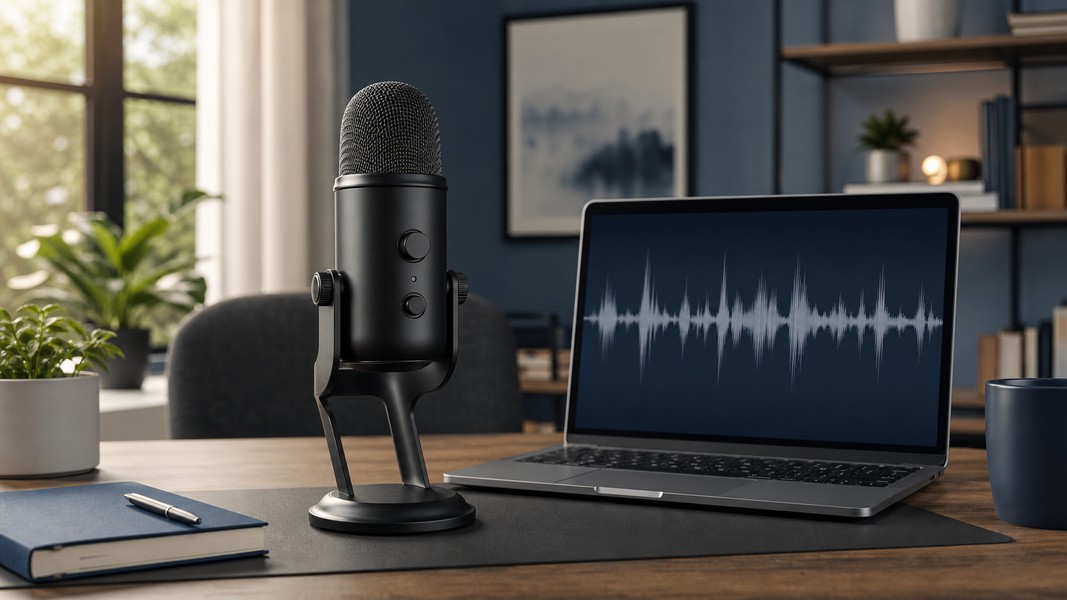
Voice Memos offers a different workflow. You record the lecture audio, and the app transcribes and organizes the content automatically. After processing, you get key points extracted from the recording along with a summary, which you can use as a starting point for your cue column rather than building it from a full transcript.
The app also processes PDFs, handwritten notes photographed on your phone, and YouTube lecture links. For a class that assigns readings alongside lectures, you can process both sources and see how the key concepts connect before deciding what goes into your cue column.
The two approaches work well together: use Voice Memos to capture and structure the raw lecture content, then transfer the essential concepts into your Cornell template for the review cycle. The cue generation step stays with you, which is where most of the actual learning happens. The AI handles the transcription and extraction; you handle the judgment about what actually matters.
Cornell notes work because the three-zone layout forces you to engage with material at multiple levels: recording it during the lecture, extracting cues afterward, and synthesizing a summary at the end. The format adapts well across Google Docs for digital notes, Word for complex formatting, PDF for handwritten notes, and tablet apps for a hybrid approach. Pick the format that fits how you actually work in class, set up your template once, and use the cue column review process consistently. That combination is what turns a page layout into a durable study system.
Discover more insights and tips to enhance your productivity
A detailed Granola AI review covering features, pricing tiers, strengths, and limitations. Find out who it is actually built for and when to look elsewhere.

Discover 5 study workflows using AI-powered study tools to turn lectures, PDFs, and videos into organized notes, flashcards, and quizzes that actually stick.
AI video transcription converts video and call audio to searchable text automatically. Learn how it works, accuracy factors, and the best use cases.